


Yesterday, I went to Reno. The ground was still too soggy from the rain to move wood, and I needed milk and eggs and several other things. While I was there I picked up two tomato plants: Patio - a strain specifically bred for growing in pots - supposedly bears 2" fruits... and Yellow cherry - I love these.. little 1" yellow fruits, I can eat these by the handful!!! I also picked up some strawberry plants.
AND, a little table-top greenhouse in which we're going to plant these seeds:


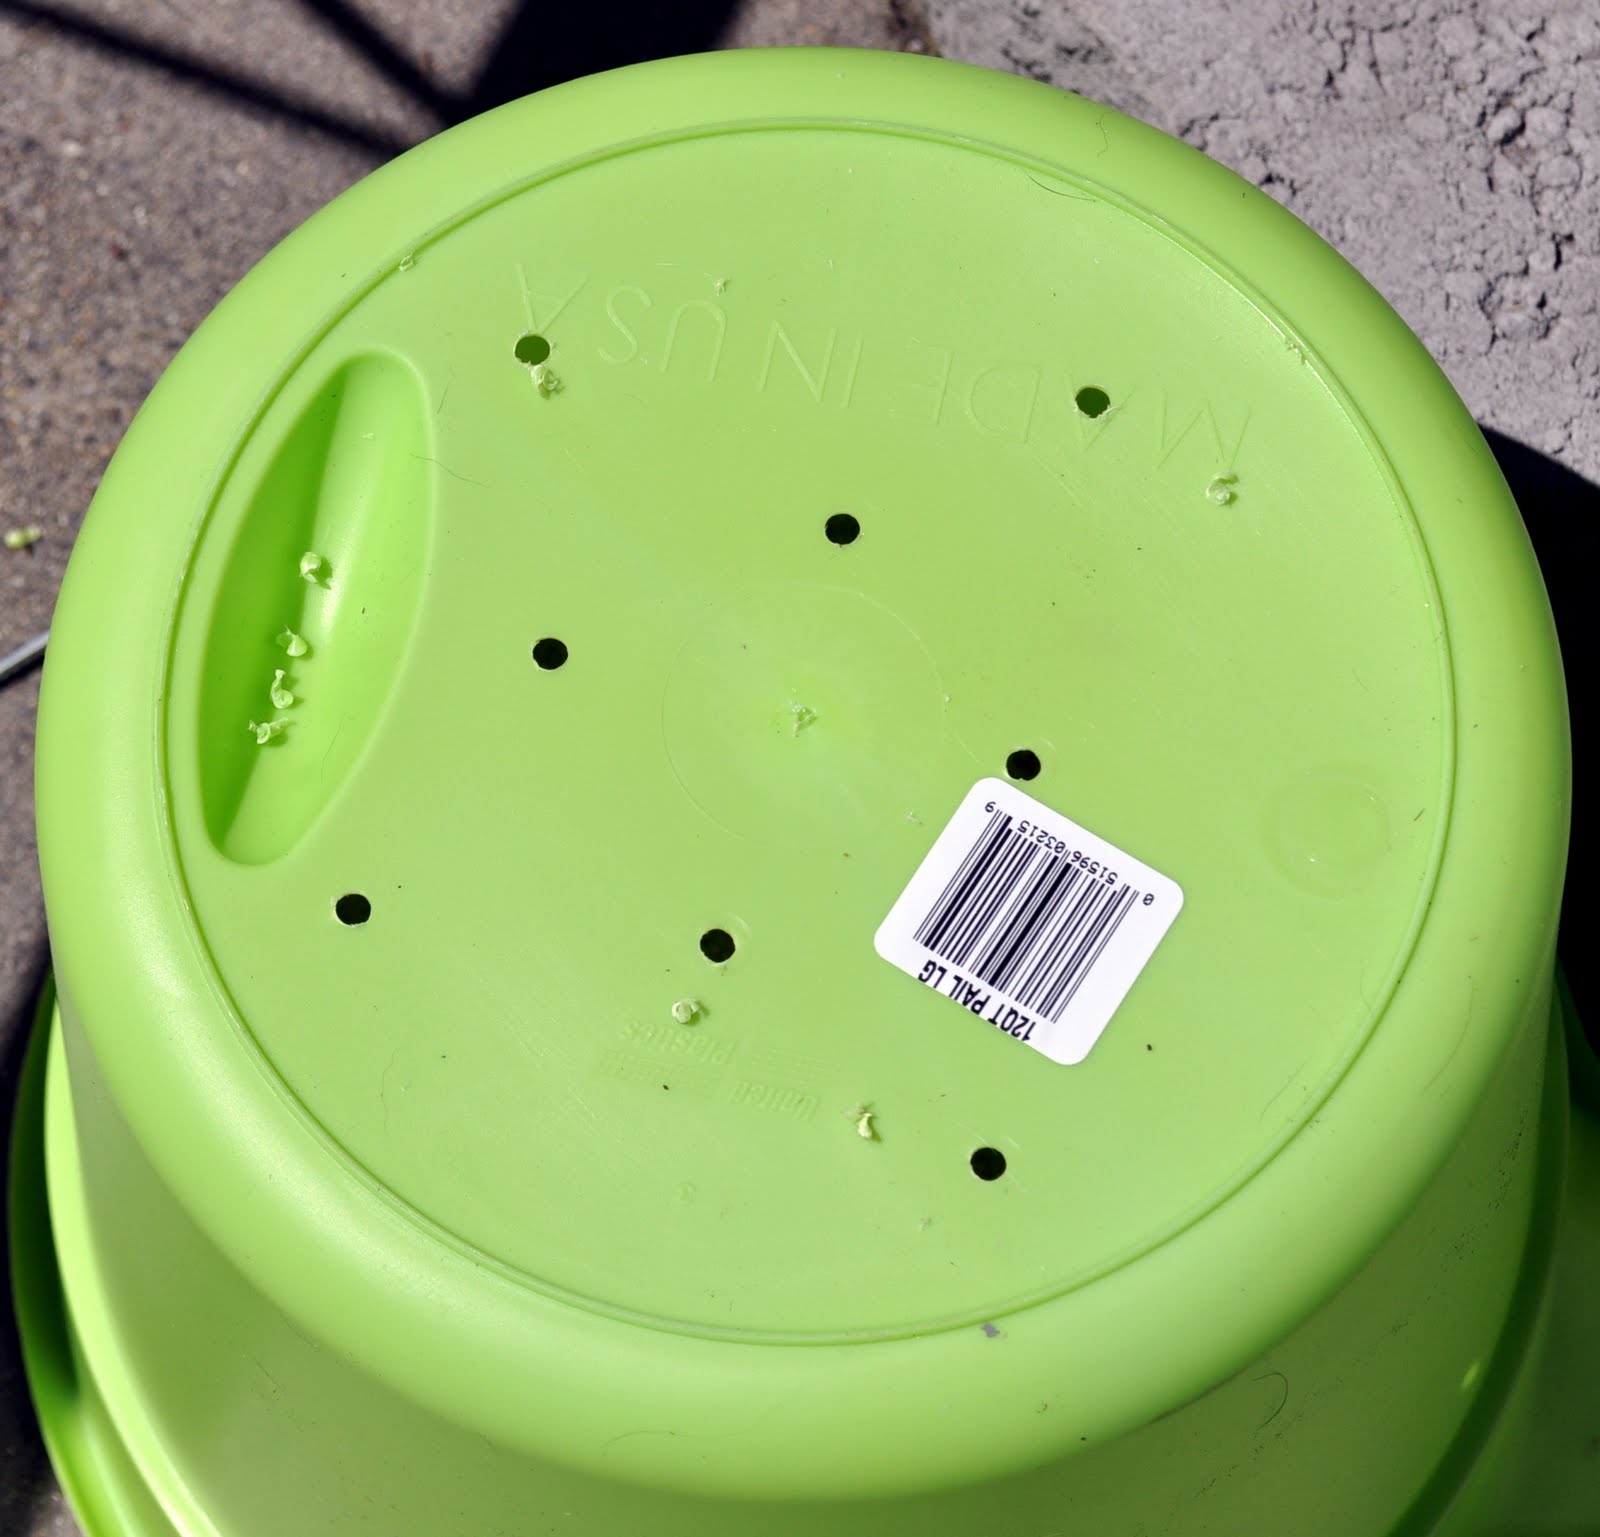
I drilled some drainage holes in the bottom
Then LD and I filled them with soil, and he made sure there were no large clumps:

Then we put the tomatoes and strawberries in them. Once our squash and peas sprout and are ready to be transplanted they'll go in buckets like these as well.


If you've never used a table top greenhouse to start seeds, it's pretty easy. First, you open it up and you see these little flat discs of peat - they start out only about 1/3 of an inch thick. Most of these come with peat for each hole - but be careful because every once in a while you run across one that doesn't. Mine did thankfully:


Then, let them sit for a while - go do something like have lunch and when you come back they look like this:

After the peat has expanded to between 1 & 1 1/2 inches tall, you need to peel back the netting that covers the top of the peats, and then "fluff" the peat till it's workable:

Then, you can start adding seeds. Because you never know IF all the seeds are going to sprout, and you usually end up thinning some, we put several seeds in each peat:


After you've planted all your seeds, just sort of push the remaining peat up over the top of them, put the lid on the greenhouse and keep it watered (and warm) till your seeds sprout.

I am REALLY looking forward to these babies... I'm not sure what are my more favorite fresh - tomatoes, squash, peas or the strawberries....
No comments:
Post a Comment